This is the virtual multi-page printable view of this section. Click here to print.
Documentation: myOpenFactory-EDI-Connector
Please note that downloading this page as a PDF creates a static document. Any changes to the content presented cannot be included in the PDF later. We therefore advise to always use the version available online.
1 Introduction
The myOpenFactory EDI Connector, hereinafter referred to as the EDI Connector, acts as a connection client for file exchange (documents and any attachments such as technical drawings, etc.) between your ERP system and the myOpenFactory EDI platform. The EDI Connector is installed as a service that runs on your communication server and allows you to monitor it. This means that the EDI Connector also complies with strict compliance rules.
The EDI connector works on a directory basis, i.e., documents (e.g., an order) are received as files from a defined folder and transferred to the myOpenFactory EDI platform via a REST connection (POST method).
If documents (e.g., order confirmations) are available on the myOpenFactory EDI platform, the EDI connector retrieves them using a REST connection (GET method) and stores them as files in a defined folder on your system.
The sending and retrieval actions are performed at short intervals
If there is a problem with file transfer, the outgoing documents are moved to an “error” directory so that no documents can be lost.
The EDI connector generates a log file that records every action. These log entries are entered into the event log of the Windows OS. You can monitor this with an appropriate monitoring tool.
Note
The EDI connector does not require any additional software resources on your system and can therefore be installed on all current operating systems. On a Windows operating system, the client can be run without an installer via the Windows command prompt (CMD).2 Preparations
Note
The EDI connector does not require any additional software resources on your system and can therefore be installed on all current operating systems. On a Windows operating system, the client can be run without an installer via the Windows command prompt (CMD).Setting up the directories
The EDI connector works on a directory basis, i.e., it receives documents (e.g., an order) from a defined directory as a file and transfers them to the myOpenFactory EDI platform and vice versa. The necessary directories can be created locally on the communication server or on a network drive.
The following directories should be set up:
A “prod” directory with the following subdirectories:
- A “prod-out” directory for outgoing productive documents.
- A “prod-in” directory in which the incoming productive documents that the EDI connector retrieves from the platform are stored.
- An “error” directory for documents that could not be sent to the platform successfully. Once the connection has been reestablished, the document can be moved manually to the “prod-out” directory so that it is then sent automatically to the platform by the EDI connector.
A “test” directory with the following subdirectories:
- A “test-out” directory for outgoing test documents.
- A “test-in” directory where incoming test documents are stored, which the EDI connector retrieves from the platform.
After setup, we recommend placing a test message (e.g., any text message with test text) in the “prod-out” and “test-out” directories so that connection tests can be performed.
Sharing when using network drives
Ensure that permissions for accessing network drives are set up if the above directories are located on another server. The EDI connector requires write, read, and delete permissions for the directories..
Sharing Internet
Ensure that the EDI connector has the necessary permissions to access the internet. Add “myopenfactory.net” (only if attachments are sent) and “rest.ediplatform.services” to your firewall and proxy allowlist/acceptlist. Keep in mind that any virus scanners you may be using can also affect connectivity.
Note
If you need our IP addresses to set up the necessary permissions in your software, please contact our support team.Download installation file
Download the appropriate installation file from Github. A Windows Installer version is also available in newer releases, starting from version 2.0. (edi-connector_installer.exe) https://github.com/myopenfactory/client/releases You can validate our EDI connector. Our updates are protected by a signature. See: https://github.com/myopenfactory/client
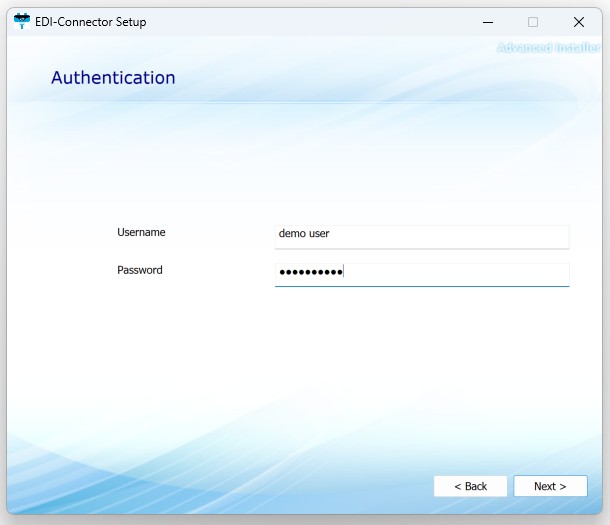
Interface-Login credentials
The EDI connector requires a username and password as well as process-IDs to establish a connection. You can obtain this data from your myOpenFactory contact person.
3 Installation
Note
This step-by-step guide describes how to install the EDI connector on Microsoft Windows if you are using the installer version.
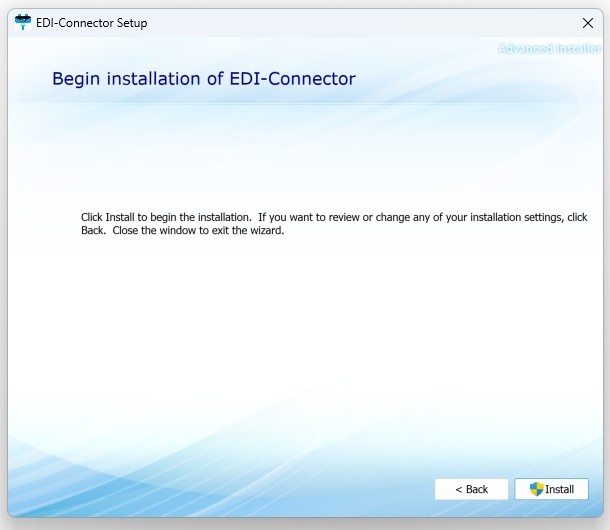
Please run the installation file on the communication server with administrator rights.
Note
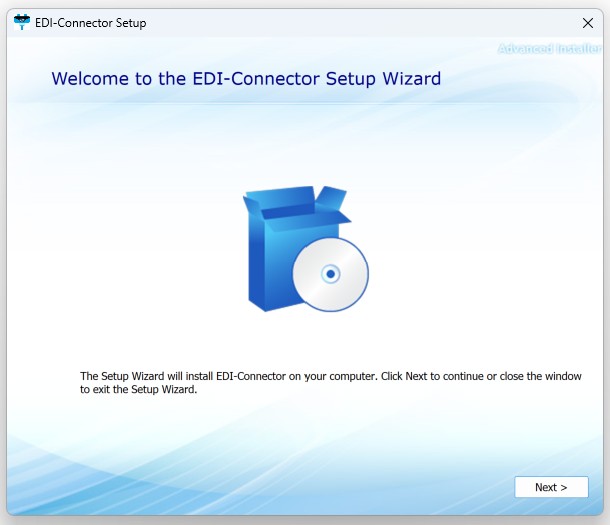
Please note that it may take a few seconds before you see the start screen; the setup routine first checks whether a more recent installation file is available.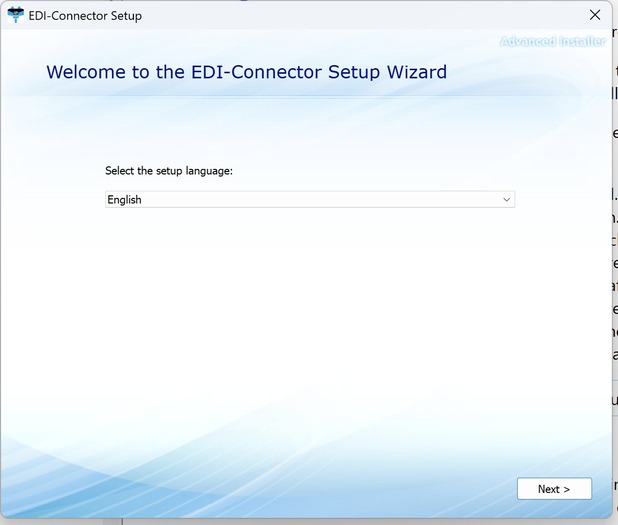
- Please select your installation language and confirm with “Next”.
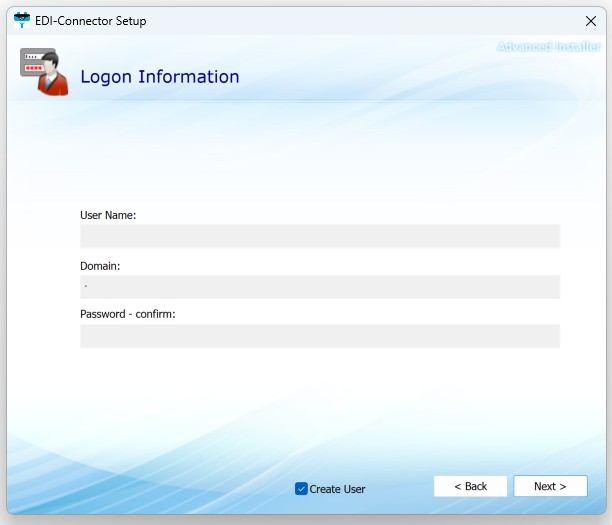
A. Leave the field blank and simply click ‘Next.’. The EDI connector will then create a local user in the Active Directory of this domain.
B. However, for correct operation, a separate user with appropriate rights should be created in Active Directory for each service. Once this has been done, the relevant details can be entered here. This is particularly important because it enables the EDI connector to access folders on remote servers..
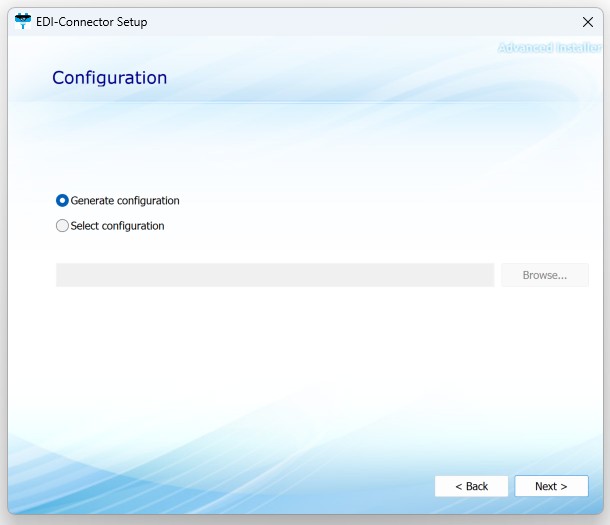
A. If you have a configuration file, select the second option, “Use predefined configuration.” This activates the “Browse” button, allowing you to navigate to the folder where the configuration file is located. Once you have navigated to the correct folder, you will see a file named config.json. Select this file and click “Open.” The file path will then be displayed in the mask, see screenshot below..
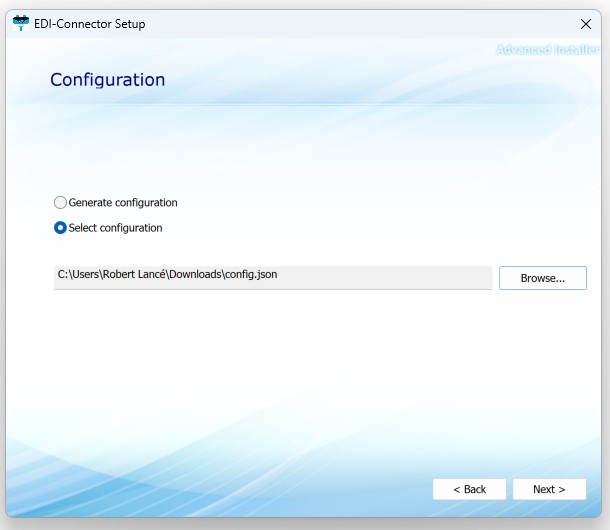
B. If you now click “Continue,” the EDI connector will be installed according to the defined configuration of the json file. Now continue reading under point 11..
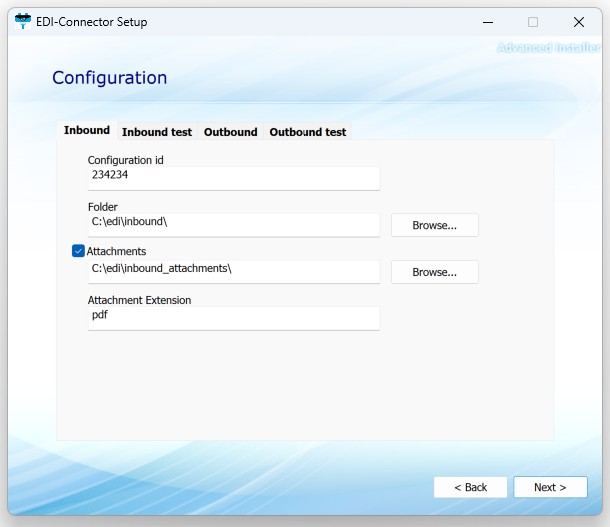
- Configuration-window - Inbound:
A. Configuration-id: This field corresponds to the process ID in the myOpenFactory portal under “My company/Incoming documents” or “Outgoing documents.” However, your myOpenFactory contact person will usually provide you with the IDs. Please enter the corresponding value.
B. Folder: Here, use the “Browse” button to navigate to the folder where you expect the incoming EDI files to be stored.
C. Attachments: If you are expecting attachments, you can use the “Browse” button to navigate to the folder where you expect the incoming attachments to be stored.
D. Attachment file extensions: Here you can specify which file extension the attachments will have.
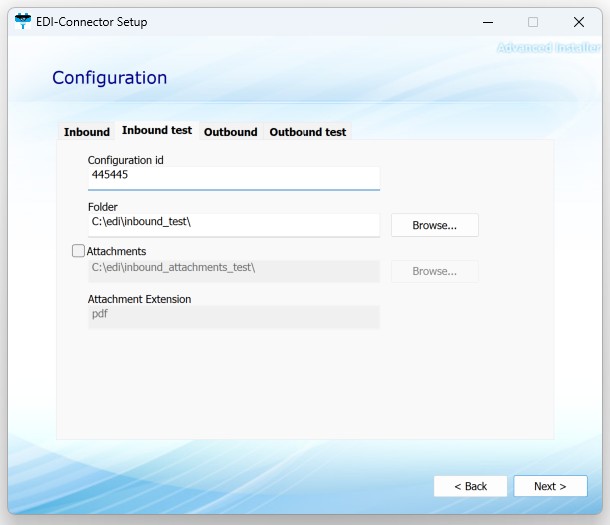
For the “Test Incoming” tab, repeat the process.
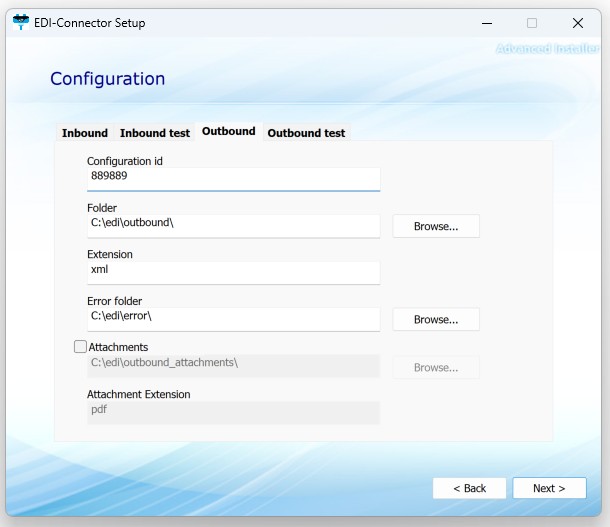
There are two additional elements in the “Outbound” tab
A. File extension: Enter the file extension of the EDI files you will be sending here. If you do not use a file extension, you can leave this field blank.
B. Error folder: Use the “Browse” button to navigate to an error folder and confirm your selection. If the connection to our server is interrupted, all failed EDI files that could not be sent are copied to this error folder. Once communication has been restored, simply move the files from the error folder to the outbound directory and they will be transmitted to the myOpenFactory EDI platform.
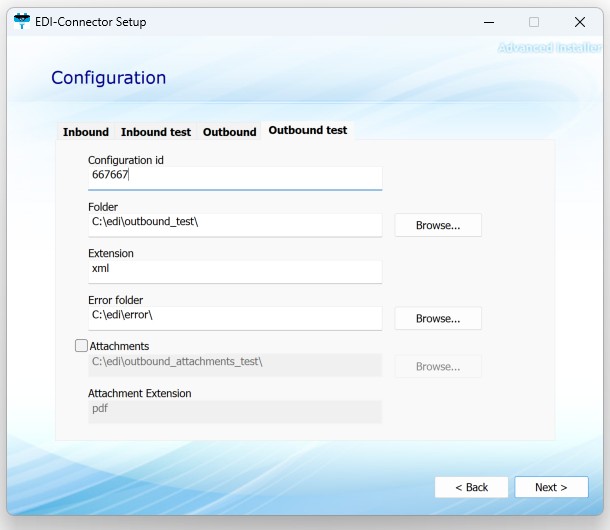
For the “Outbound test” tab, repeat the process.
Note
After installation, you will find a JSON file in the myOpenFactory folder. You can edit this file to add further elements or to adjust directory paths. See the “Configuration” chapter.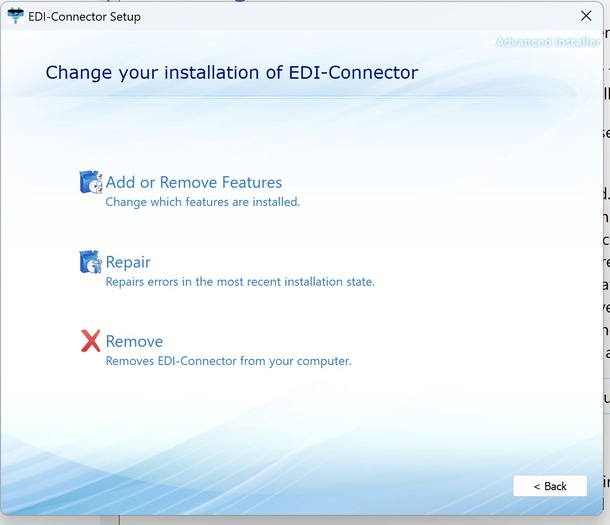
A. Add or remove features
B. Repair
C. Remove
4 Configuration
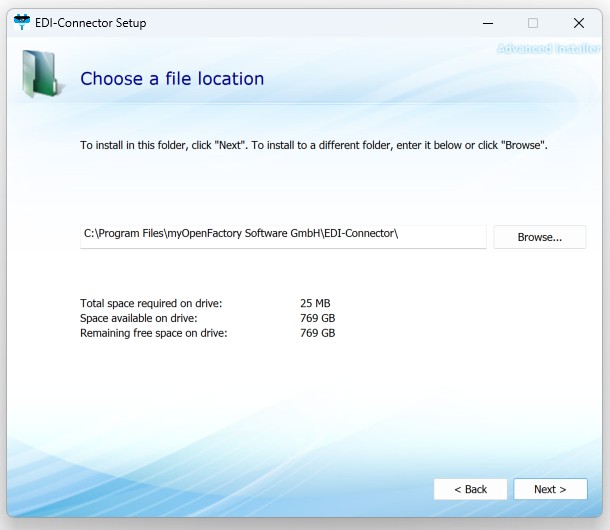
The configuration file is located in the installation directory of the EDI connector. By default, this is located at: ProgramData / myOpenFactory Software GmbH / EDI-Connector
The configuration file is a YAML file and can be opened and edited with any text editor.
Note
Before doing so, we always recommend making a copy of the original file!Some of the following elements can be found in the original file, while others are extensions, e.g. for attachments, which are shown here as examples:
{
  "instancePort": 9643,                                // Default value - Mutex-Port
  "proxy": null,                                       // Proxy-Configuration - URL and port
  "runWaitTime": "1m0s",                               // Default value - lap time
  "log": {
    "level": "info",                                   // Default value - Loglevel
    "type": "EVENT",                                   // Default value - FILE/EVENT/STDOUT_TEXT/STDOUT_JSON
    "folder": null,                                    // Default value - Folder for log files of type 'FILE'
  },
  "url": "https://rest.ediplatform.services",          // Default value - Basis URL for the rest interface
  "caFile": null,                                      // Root-Certificate for the platform
  "inbounds": [{                                       // DIRECTION INBOUND Client
    "id": "nBjCkM",                                    // myOF process ID - inbound
    "type": "FILE",                                    // file type
    "authName": null,                                  // authentication names "EDI-Connector/[Name]"
    "settings": {
      "path": "C:/edi/inbound",                        // Directory - Test inbound
      "attachmentPath": "C:/edi/attachments_inbound",  //
      "attachmentWhitelist": [                         // Default value - From which domain can attachments be downloaded
        "https://myopenfactory.net",                   // Platform
      ],
      "mode": "create"                                 // Default value - create/append
    }
  }],
  "outbounds": [{                                      // DIRECTION OUTBOUND Client
    "id": "0T6Qgn",                                    // myOF process ID - outbound productive
    "type": "FILE",                                    // file type
    "authName": null,                                  // authentication names "EDI-Connector/[Name]"
    "settings": {
      "message": {
        "path": "C:/edi/outbound",                     // Directory - productive outbound
        "extensions": [                                // File name extension
          "csv"                                        // Value of file name extension
        ],
        "waitTime": "1m0s"                             // Default value lap time
      },
      "attachment": {                                  // ATTACHMENTS
        "path": "C:/edi/outbound/attachments",         // Directory - productive outbound - Attachments
        "extensions": [                                // File name extension
          "pdf",                                       // Value of file name extension
          "step"                                       // Value of file name extension
        ],
        "waitTime": "15s"                              // Default value lap time - Attachments
      },
      "errorPath": "C:/edi/outbound/error",            // Directory - Error folder outbound
      "successPath": "C:/edi/outbound/success"         // Directory - Success folder outbound
    }
  }]
}
5 EDI connector controls
If you have EDI Connector 2.0 or higher installed, an EDI Connector directory will be created in the Microsoft Start menu.
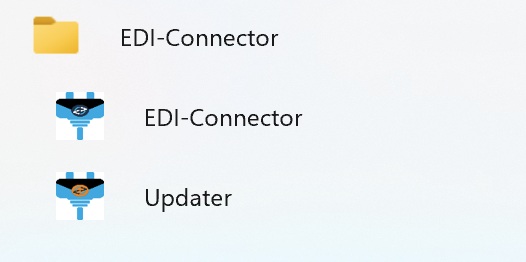
There are two menu items here:
A. EDI Connector: This will restart the installer, which will then offer you the menu items described under Installation / Point 14.
B. Updater: This checks whether a more recent version of the EDI connector is available. If so, you will be offered the option to update.
Of course, the EDI connector can also be accessed and controlled in the list of Windows services.
In addition, the client can be run without an installer via the Windows command prompt (CMD).
6 Error handling
If the EDI connector is not working properly, it may help to stop and restart the service. The service is called EDI Connector.
If restarting the EDI connector does not result in proper operation, you can view the log files. The EDI connector writes its logs to the Windows event logs. These can be checked using the event viewer..
Right-click on the Windows icon and select “Event Viewer” from the menu. You can also open the program via the “Run” window. [Windows] + [R] : Here, enter the command “eventvwr.exe” and confirm with “OK”.
Event logs can be monitored automatically using Windows on-board tools or specialized software.