Installation
Note
This step-by-step guide describes how to install the EDI connector on Microsoft Windows if you are using the installer version.
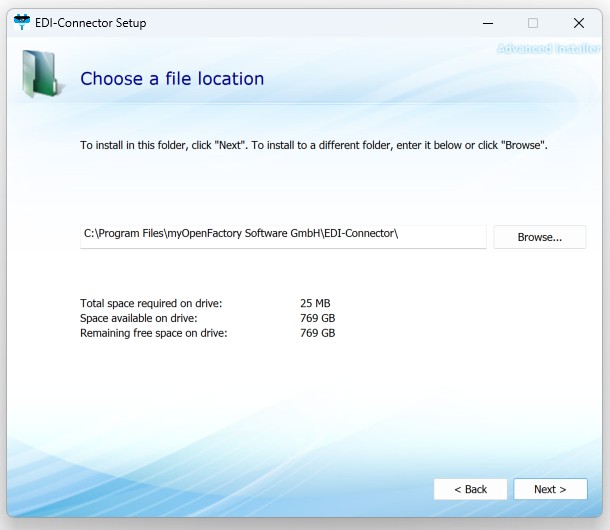
Please run the installation file on the communication server with administrator rights.
Note
Please note that it may take a few seconds before you see the start screen; the setup routine first checks whether a more recent installation file is available.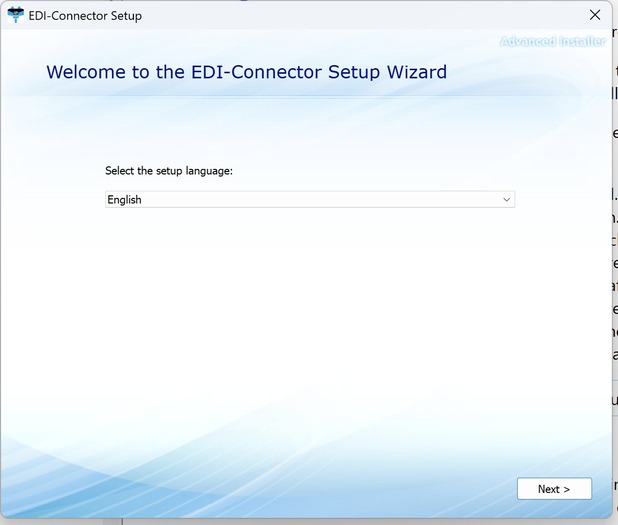
- Please select your installation language and confirm with “Next”.
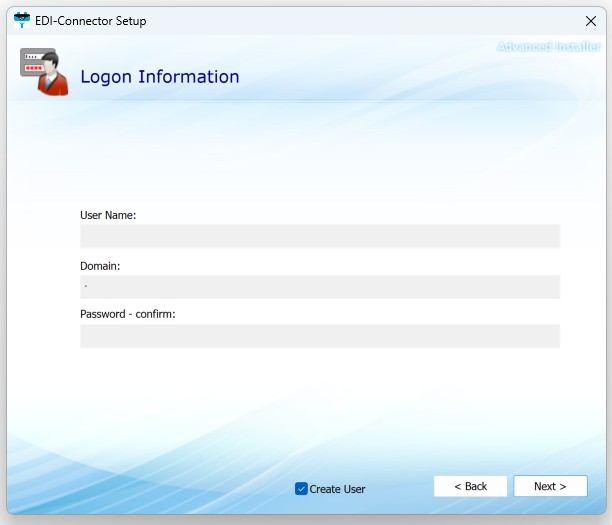
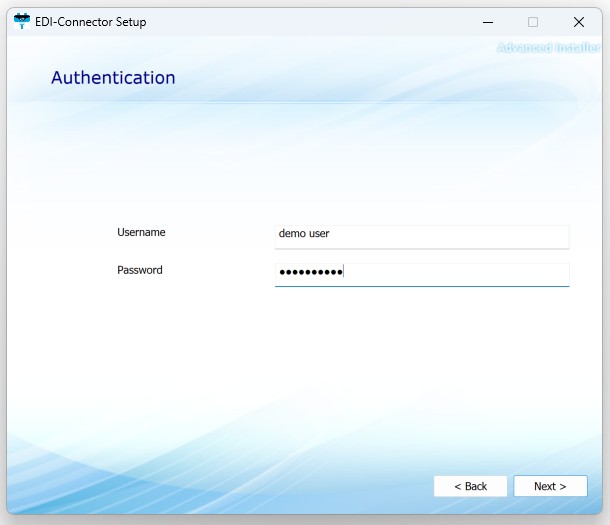
A. Leave the field blank and simply click ‘Next.’. The EDI connector will then create a local user in the Active Directory of this domain.
B. However, for correct operation, a separate user with appropriate rights should be created in Active Directory for each service. Once this has been done, the relevant details can be entered here. This is particularly important because it enables the EDI connector to access folders on remote servers..
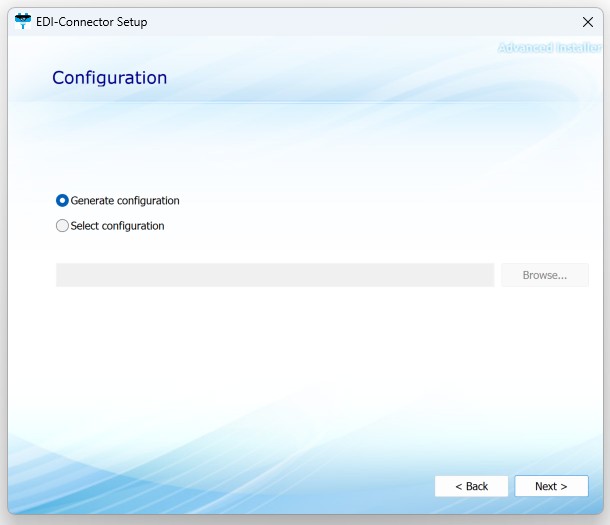
A. If you have a configuration file, select the second option, “Use predefined configuration.” This activates the “Browse” button, allowing you to navigate to the folder where the configuration file is located. Once you have navigated to the correct folder, you will see a file named config.json. Select this file and click “Open.” The file path will then be displayed in the mask, see screenshot below..
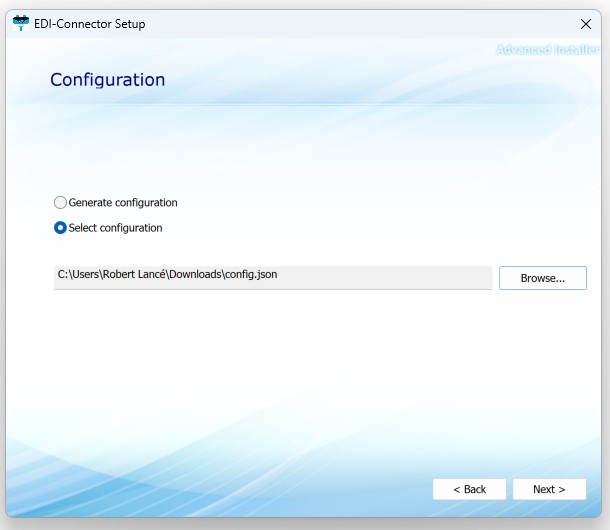
B. If you now click “Continue,” the EDI connector will be installed according to the defined configuration of the json file. Now continue reading under point 11..
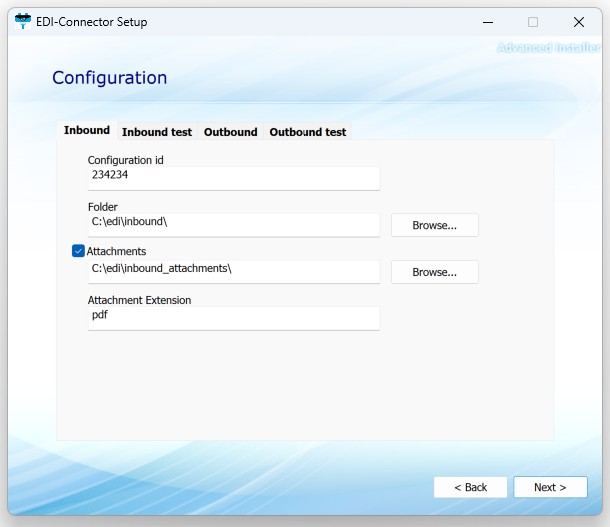
- Configuration-window - Inbound:
A. Configuration-id: This field corresponds to the process ID in the myOpenFactory portal under “My company/Incoming documents” or “Outgoing documents.” However, your myOpenFactory contact person will usually provide you with the IDs. Please enter the corresponding value.
B. Folder: Here, use the “Browse” button to navigate to the folder where you expect the incoming EDI files to be stored.
C. Attachments: If you are expecting attachments, you can use the “Browse” button to navigate to the folder where you expect the incoming attachments to be stored.
D. Attachment file extensions: Here you can specify which file extension the attachments will have.
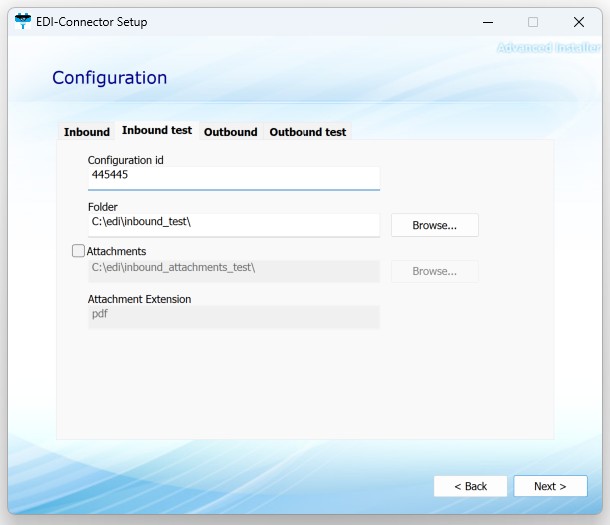
For the “Test Incoming” tab, repeat the process.
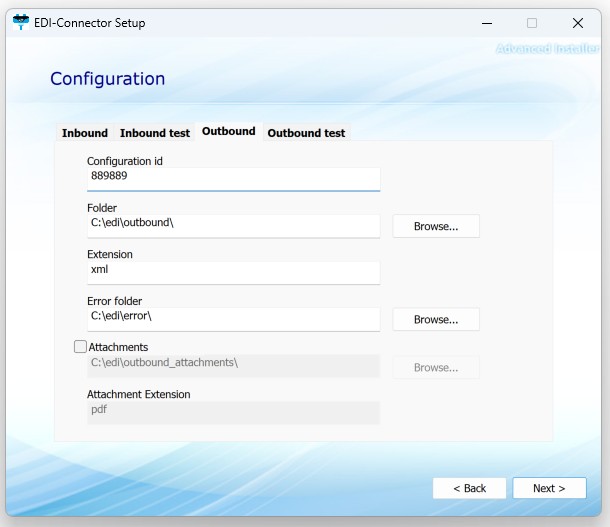
There are two additional elements in the “Outbound” tab
A. File extension: Enter the file extension of the EDI files you will be sending here. If you do not use a file extension, you can leave this field blank.
B. Error folder: Use the “Browse” button to navigate to an error folder and confirm your selection. If the connection to our server is interrupted, all failed EDI files that could not be sent are copied to this error folder. Once communication has been restored, simply move the files from the error folder to the outbound directory and they will be transmitted to the myOpenFactory EDI platform.
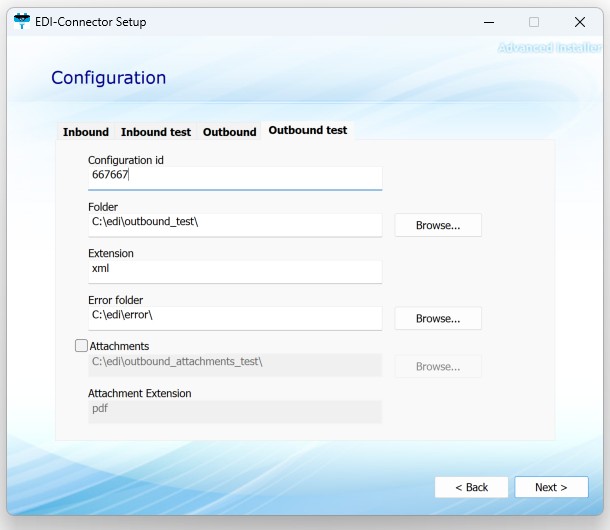
For the “Outbound test” tab, repeat the process.
Note
After installation, you will find a JSON file in the myOpenFactory folder. You can edit this file to add further elements or to adjust directory paths. See the “Configuration” chapter.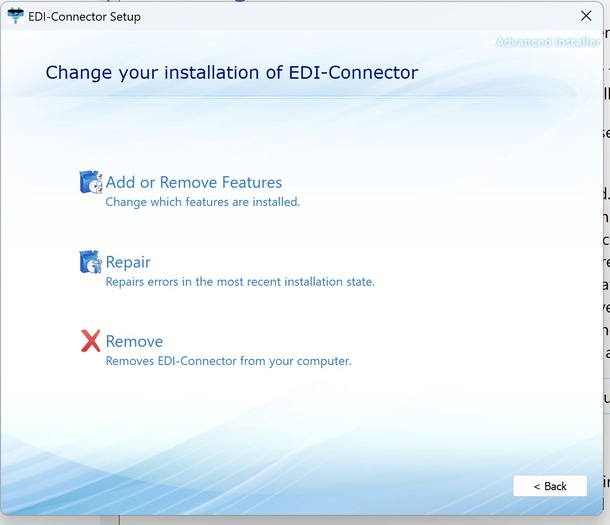
A. Add or remove features
B. Repair
C. Remove
Last modified March 18, 2026